Disassembly;
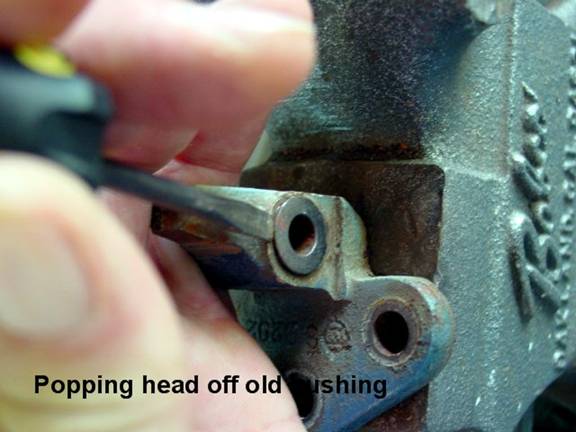
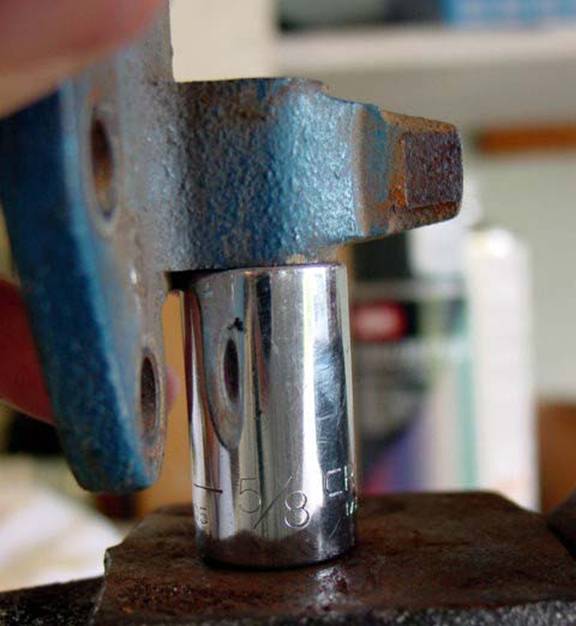
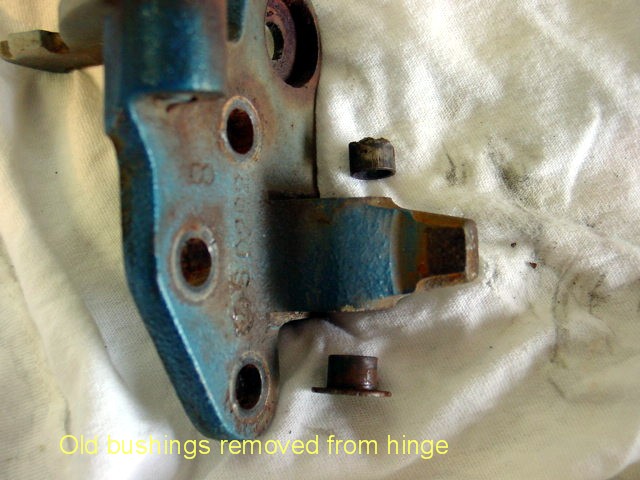
The hinges are easy to dissemble a hammer and ¼ inch punch along with an assortment of sockets and a vice. For the top hinges locate the tapered end of the hinge pin, this should be the end that is protruding slightly. The pin has two ends a tapered end and a knurled end. During assembly the knurled end goes in last and you should NOT try to drive the pin through the hinge forcing the knurled end to score the hinge. I put the appropriate sized ½ inch drive socket under the hinge pin and tap it out with the socket resting on a vice. The socket supports the hinge and allows the pin to go inside the socket as it is being driven out. Now you will see the shims there are two of them in the center portion of the hinge. The original shims are steel as is the pin. Bracing the hinge on a vice use a flat tipped screwdriver and a hammer to knock off one of the bushing heads. They knock off very easily. Then I used a ¼ inch drive deep well 7/32 socket to drive both bushings out at once from the side where the head was removed. Now it is ready for blasting.
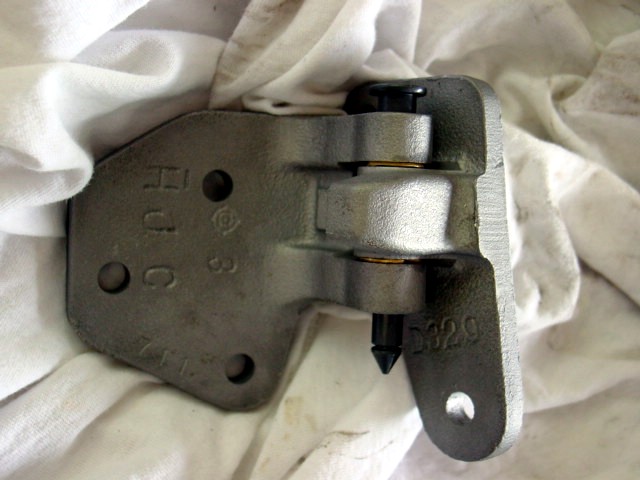
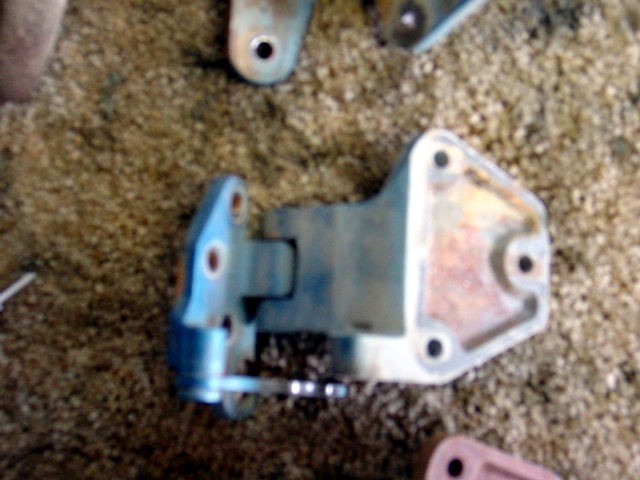
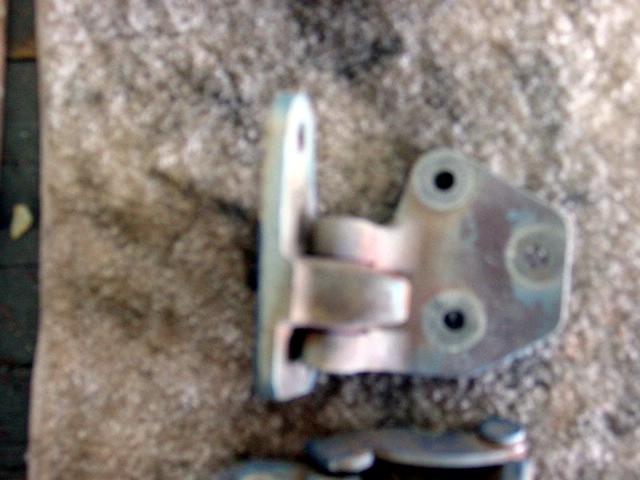
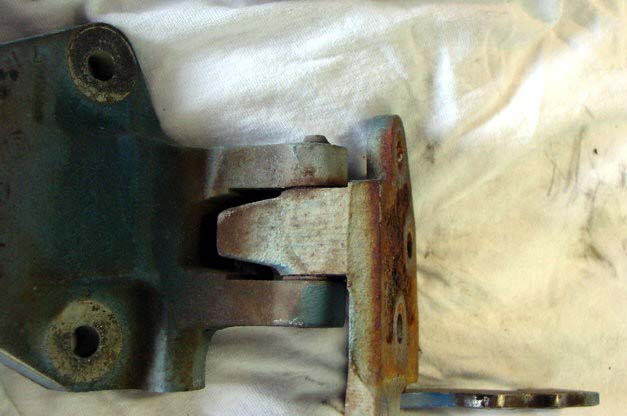
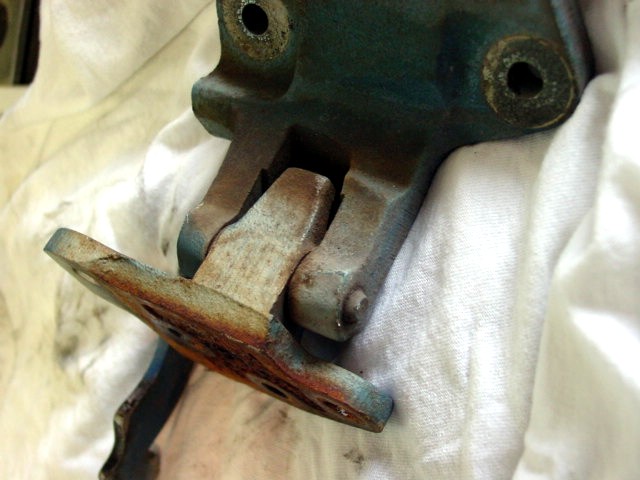
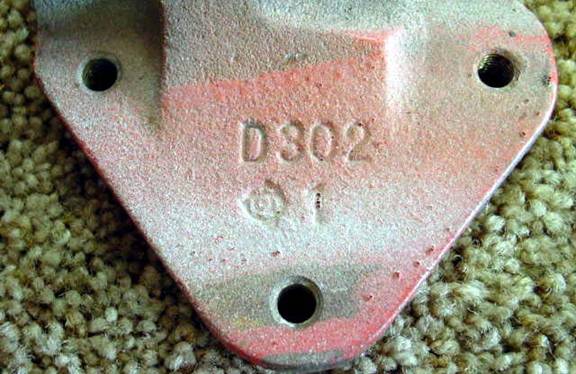
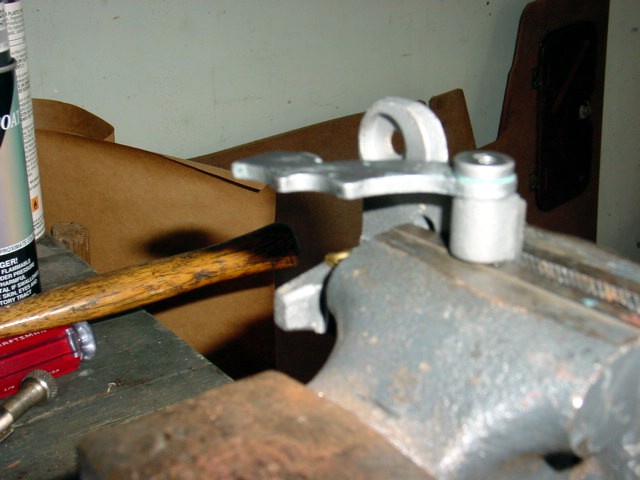
The bottom hinge is a little more complicated as it has the door stop components in addition to the two sides of the hinge. Components of the lower door hinge are; door side of hinge, body side of door hinge, spring, roller, roller pin. Stop arm, stop arm pin. Hinge pin and 2 hinge bushings. We will reuse everything off the old hinge except for the hinge pin and it’s 2 bushings. Dissemble this hinge similar to the way you did the top ones but start with the roller pin and be careful the spring is compressed. Disassembly time is about 1 hour for all 4 hinges they go a lot faster and easer after the first one especially if you have a helper. Trying to balance the hinge on a socket hold a punch and hit the punch with the hammer can be tedious for just 1 person.
I put each of the hinges and all their associated parts in individual zip lock bags to take to the blaster so as to not end up trying to sort out a pile of parts later.
Replacement Parts:
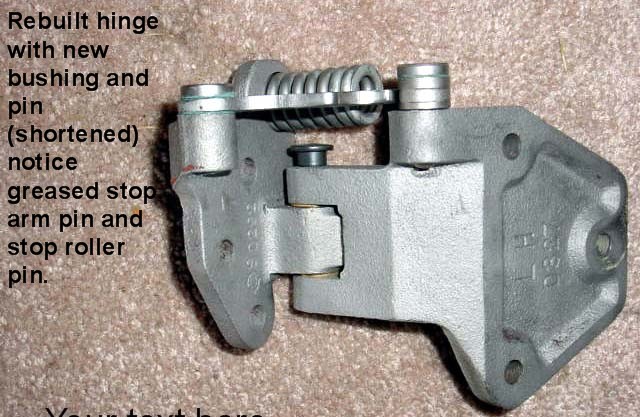
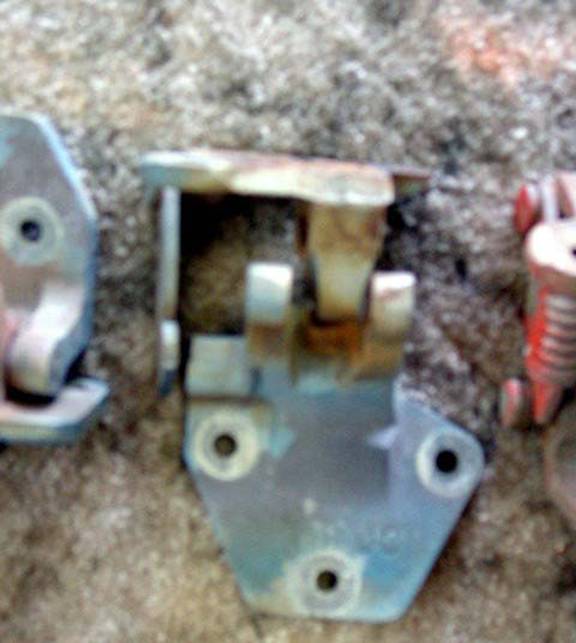
As far as I could find out there was never any replacement parts available for these hinges from Nissan or anyone else. I found a shim and pin kit for Nissan trucks at NAPA part # 675-5157 that was close but when the hinge was assembled there was slop between the bushings and pin so that was a no go. Then I went back to my trusty Nissan parts guy and asked him if Nissan might have any pins and bushings for another model vehicle that might fit. He got about ten boxes of parts off the shelf and we started mixing and matching and ended up finding some perfect bushings and pins that fit but are about 3/4 inch too long (big deal) I guess some one could cut the excess off if it really bothered them. It bothered me and I cut the pins with a hack saw before I installed them. Some of the pictures I took show what a hinge would look like with the long pin installed without being shortened. Nissan Bushing #80410-01G00, Nissan Pin #80406-V5002 are the replacement parts that I used.
It should also be noted that the hinges for 1970-1976 were 1 type and 1977-1978 were another. However, all of the parts are interchangeable except the body half of the hinge. This is the half of the hinge that bolts too the body of the car. The hinge half that bolts to the door are the SAME for all 1970-1978 cars as are all other related parts, springs, pins and so on and are fully interchangeable. The deference in the body half of the door hinge is that the 70-76 models the hinge mounting holes were threaded and the bolts went from the car into the hinge. For the 77-78 cars it was the opposite the door post had nut plates and the bolts went from the hinge into the car.
Reassembly:
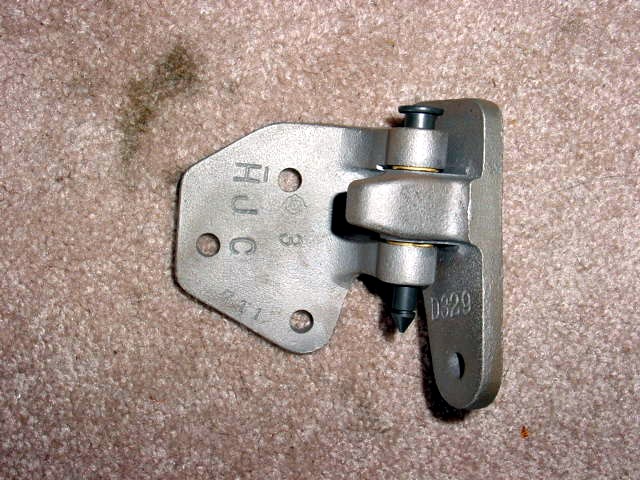
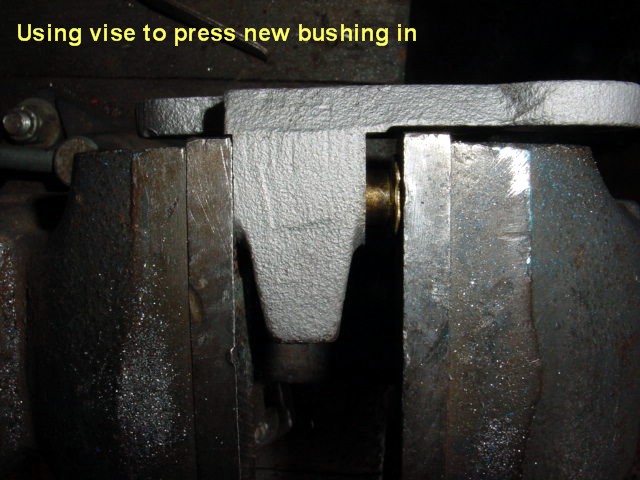
So after you have the hinges blasted and the new bushings and pins it is time to reassemble. The hinge bushings are easily pressed in by starting one in the hole with just your hands then put it squarely in the vice and slowly close the vice. Using a hammer distorts the bushings and may damage them or cause premature failure. Then start the bushing on the other side and install the same way. Assemble the 2 halves of the hinge. Now you just tap the new pin in till seated on the top. You will have ¼ inch excess the head end of the pin. I figure once they are installed and painted they will look great and function like they did 28 years ago.
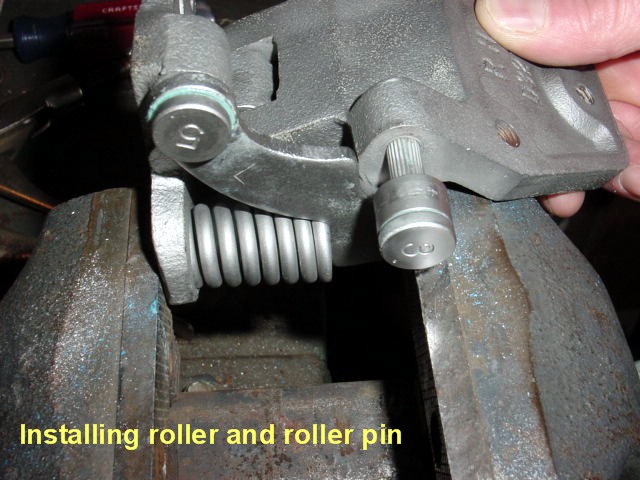
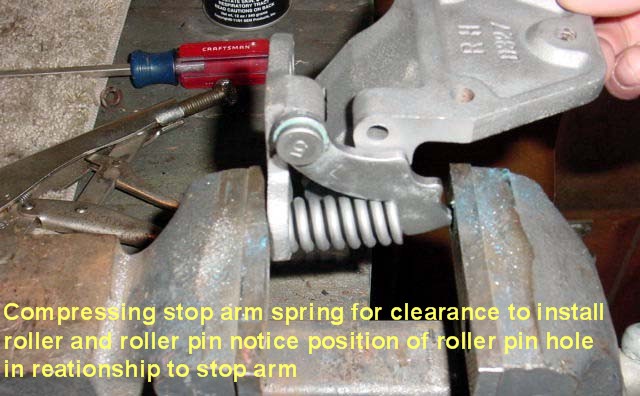
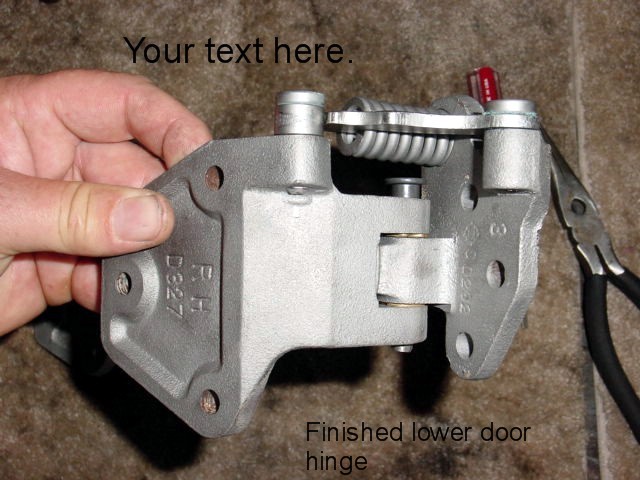
On the bottom hinges I started reassembly by installing the stop arm and pin assembly making sure to grease the pin before assembly. I use Boat Trailer wheel bearing grease it lasts a long time and holds up well. Then I press the bushings in and assemble the two hinge halves. Now I put the spring in its seat and the stop arm over it and slowly compress the assembly in a vice until I get enough clearance to mount the stop roller and pin assembly. Remember to grease the stop pin and roller assembly before installation.